A lot of effort gets wasted on Philippine ID photos that were never needed. Someone books a passport appointment, then spends an afternoon getting a 35 × 45 mm print made — only to have the DFA take a fresh photo at the counter and ignore the print entirely. Someone else starts a PRC renewal the night before a deadline, reaches the upload step, and discovers the file has to be a JPG under 2 MB with a white background they do not have.
The confusion is understandable, because the rule is not consistent across agencies. The single most useful thing to know before any transaction is which of two camps it sits in.
Camp 1: the office takes your photo
For these, the biometric photo is captured on-site during your appointment. You do not upload one, and you do not need to bring a print. What matters is showing up ready — because the appearance rules still apply to the photo the office takes.
- DFA passport (applying in the Philippines). Data encoders capture your photo digitally at the passport site. No print required.
- PhilSys national ID. Photo and biometrics captured at the registration centre.
- NBI clearance — new application. Photo, fingerprints and digital signature are all taken at the branch. No need to bring your own.
- Driver's licence (LTO) and UMID. Captured on-site at the office.
The catch: on-site capture does not relax the appearance rules. Plain background, decent collared attire, neutral expression, no eyeglasses. The office controls the camera; you still control whether the resulting photo is compliant. A compressor does nothing for these — the requirement is a mirror, not a file.
Camp 2: you supply the photo
These are the transactions where a digital photo is genuinely on you — prepared, sized and uploaded, or printed to an exact dimension. This is where the file work matters.
PRC licence and board exam (LERIS)
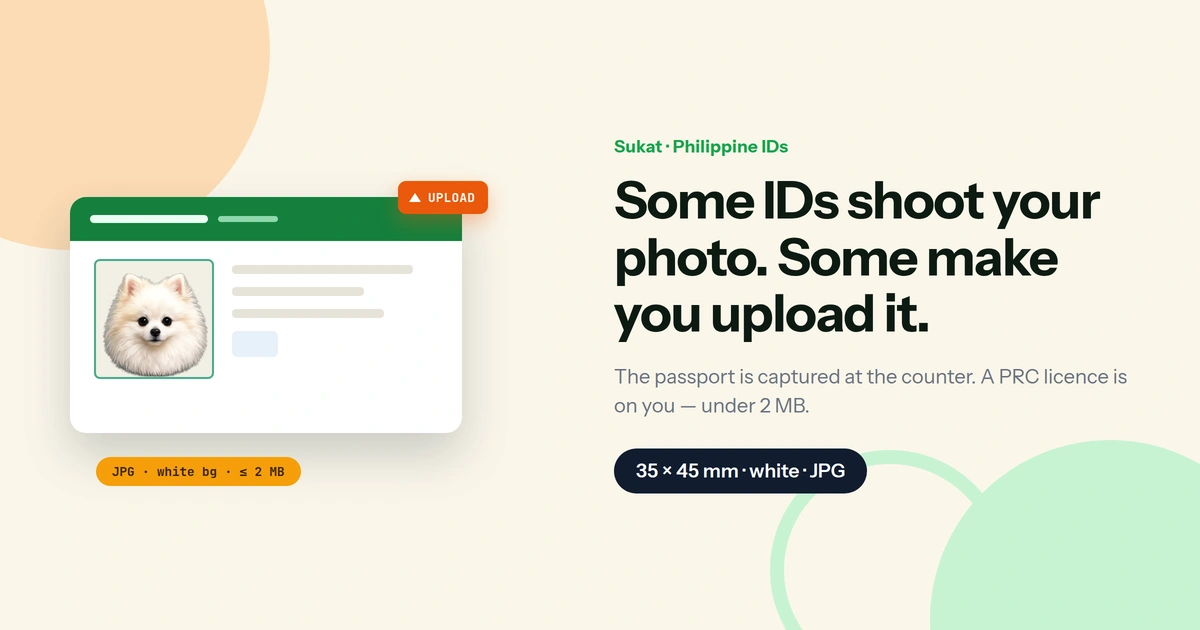
Every professional renewing a licence or registering after a board exam through the PRC's online LERIS system uploads a photo, and the rejections are predictable. The file must be a JPG no larger than 2 MB. The background must be plain white. And two PRC-specific rules trip people who assume a normal ID photo will pass: the attire must have a collar, and the photo must carry a name tag showing your complete name — surname, first name, middle initial. Depending on the board, the size is either passport (35 × 45 mm) or 2 × 2 inches.
The collar and the name tag have to be in the frame when the shutter fires — no tool adds them afterward. The size, the white background and the sub-2-MB file, on the other hand, are exactly the kind of preparation that happens after the shot. Sukat has a dedicated PRC photo page that covers the full checklist.
NBI clearance — online Quick Renewal
The on-site rule above is for new applications. The online Quick Renewal path — the one with no personal appearance and door-to-door delivery — is different: with no branch visit, there is no counter to capture a photo, so a compliant image is uploaded instead. A renewal done this way puts the photo back in your hands.
Consular passport renewal abroad (OFWs)
Applying for or renewing a Philippine passport at an embassy or consulate is not the same as doing it at home. Many posts still require two printed 35 × 45 mm photos on a white background, brought to the appointment. That is a print job with an exact dimension — the digital file has to be sized correctly before it goes to the photo lab, or the prints come back the wrong size.
Overseas Filipino Worker paperwork through OWWA and the Department of Migrant Workers frequently asks for printed passport-size photos as well. Same principle: get the digital file right, then print.
The Philippine e-Visa
This one is for a different reader — foreign nationals applying to enter the Philippines through the official e-Visa portal, rather than Filipinos travelling out. The photo is a 35 × 45 mm digital upload. As with any government portal, the exact file-size ceiling is set on the portal itself and worth confirming there before submitting.
The one spec that spans almost all of Camp 2
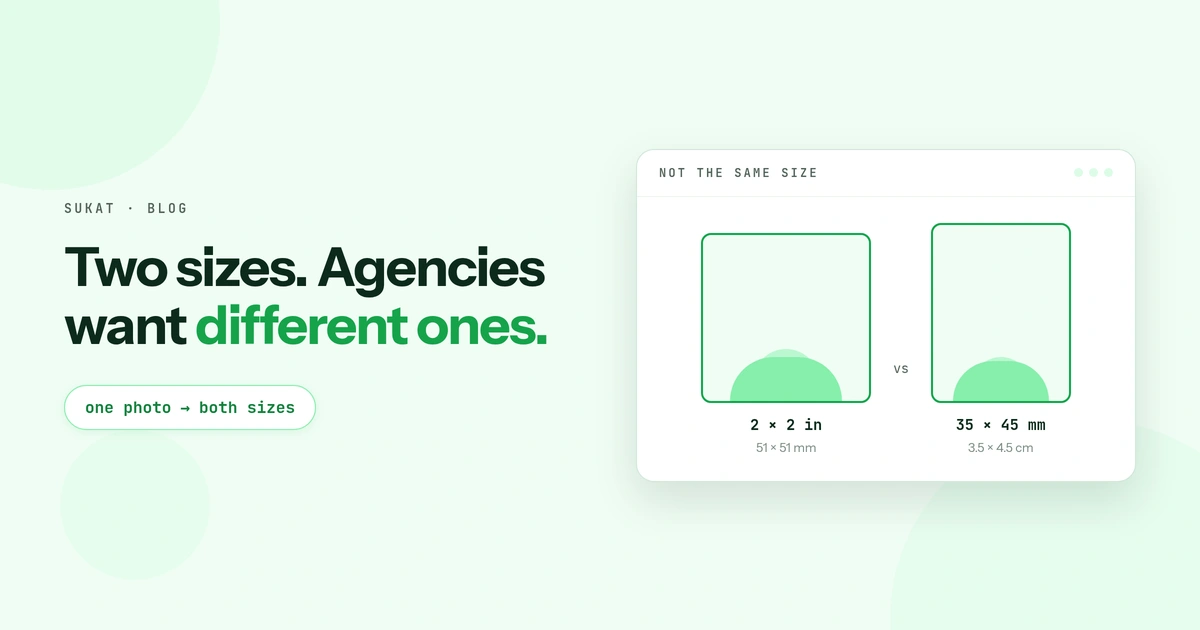
Look across that list and a single format keeps appearing: 35 × 45 mm, plain white background. It is the ICAO biometric standard, and it is the Philippine default for nearly everything that is not the US 2 × 2. The exceptions are specific — some PRC boards want 2 × 2, and US-based Philippine consulates have historically wanted a blue background rather than white — but the safe starting point for a Philippine document photo is 35 × 45 mm on white. The 2×2 vs 35×45 breakdown covers which agency wants which shape in more detail.
Note the background shift worth knowing: older DFA guidance and many photo studios still specify a blue background, but the current ePassport standard is plain white. When in doubt for a domestic document, white is the safer choice.
Preparing the file once
Whichever Camp 2 transaction you are facing, the file work is the same shape:
- Convert if it came off an iPhone. A .heic file will not upload to portals that expect JPG, and PRC's LERIS takes JPG specifically. Convert to JPG first — in the browser, with nothing sent to a server.
- Crop to the right shape. 35 × 45 mm for most, 2 × 2 for the boards that ask for it. The crop tool shows the ratio live so you can match it before committing.
- Compress to the ceiling. Under 2 MB for LERIS, or whatever the specific portal caps at. Set the target and let the file land just under it rather than guessing.
For a file that carries your face and your full name on a government upload, the fact that all of this runs locally is worth stating plainly. Nothing is transmitted anywhere — you can confirm it by cutting your connection after the page loads and watching everything still work.
Agencies revise these rules between cycles, and consular posts abroad set their own. Confirm the current size, background and file cap on the agency or portal you are actually transacting with before you upload or print.
Frequently asked questions
Do I need to bring a photo for my Philippine passport?
Not if you are applying at a DFA office in the Philippines. Your photo is captured on-site by the data encoders during your appointment. You only need printed photos when renewing at an embassy or consulate abroad, where many posts require two 35 × 45 mm prints on a white background.
What photo does PRC LERIS require?
A JPG no larger than 2 MB, on a plain white background, in collared attire, with a name tag showing your complete name. The size is passport (35 × 45 mm) or 2 × 2 inches depending on your board. The collar and name tag must be in the photo when it is taken.
Does NBI clearance need an uploaded photo?
For a new application, no — the photo is captured at the branch along with your fingerprints. For the online Quick Renewal with no personal appearance, yes — a compliant photo is uploaded because there is no branch visit to capture one.
Is the Philippine ID photo white or blue background?
For the current DFA ePassport and most domestic documents, plain white. Older guides and some studios still say blue, which applied to the earlier passport format. Certain Philippine consulates abroad have their own background rules, so confirm with the specific post if you are applying overseas.
Can I use one photo for every Philippine document?
Often the same shot works, but the file usually needs re-preparing per transaction — different size for a 2 × 2 board versus a 35 × 45 mm upload, different file-size caps, and a name tag required for PRC but not elsewhere. Keep the original and export a fresh copy for each.
Are the files uploaded to a server?
Not with Sukat. Converting, cropping and compressing all run locally in the browser. You can verify it by switching to airplane mode after the page loads — the tools keep working with no connection.

About Sukat
Sukat builds free, privacy-first browser tools for compressing images and verifying published content. Everything runs in your browser — nothing is uploaded.